Tape Measure First, Table Second: The Patio Clearance Check Nobody Does Until It's Too Late
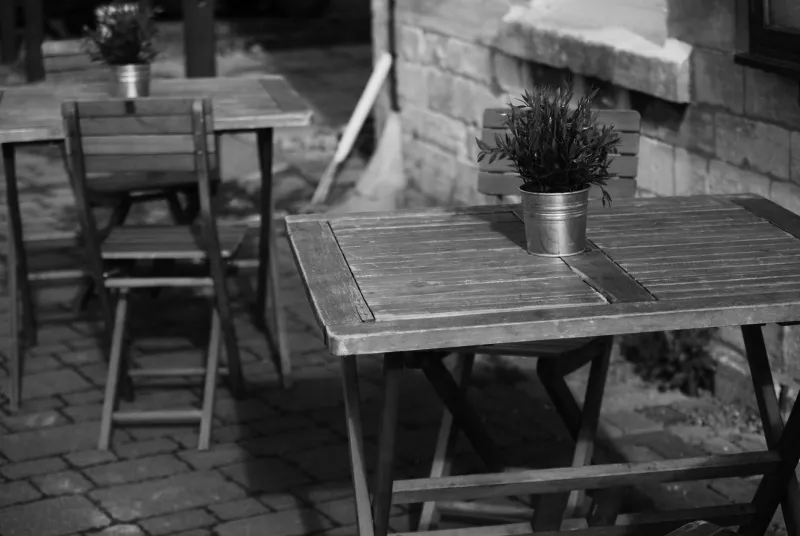
There's a particular sort of regret that arrives the moment a dining set is assembled and you realise you can no longer reach the back door without turning sideways. The table fits. The chairs fit. The paving, technically, holds the lot. What doesn't fit is you — or your guests, or the route to the washing line, or the pot you have to shuffle every time somebody wants a glass of water.
The fix isn't a bigger garden. It's a tape measure, used before you buy rather than after. And it starts with a number worth committing to memory: 60 centimetres.
Measure the Space Between, Not the Space Itself
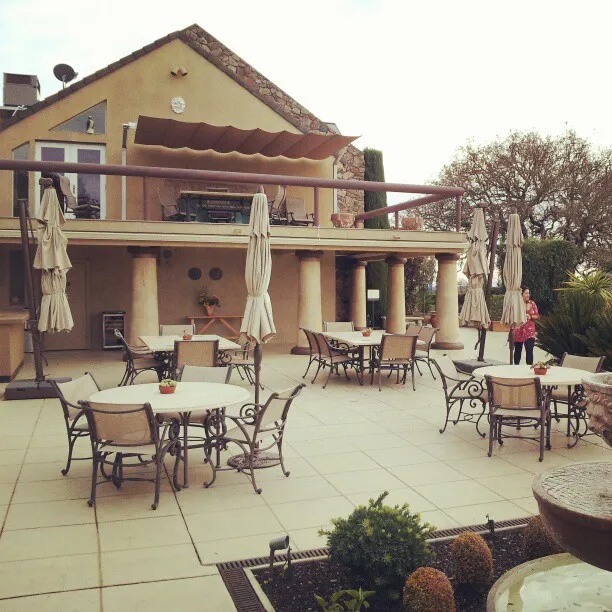
The classic error is measuring the patio and then comparing that figure to the dimensions on the product page. A 2.4-metre patio and a 2.4-metre set are not a match; they're a collision. What actually matters is the space that remains once the furniture is down — the gaps, the aisles, the breathing room.
So flip the sum around. Note your patio's width and depth, subtract the furniture's footprint, and look hard at what's left. If the remainder is a thin sliver down one side, you haven't bought a dining set. You've bought a very expensive obstacle.
Why 60 Centimetres Is the Floor, Not the Target
Sixty centimetres is roughly the width of a comfortable stride. It's enough to walk a straight line without angling your shoulders, and it's the minimum you should accept for a secondary route — the squeeze past the side of the table to reach a plant pot, say, or the gap between a lounger and the fence.
It is not enough for the main route through the garden. For a path you'll use while carrying a tray, a washing basket or a toddler, aim for 90 centimetres. If two people need to pass each other without one of them stepping onto the flowerbed, think 100 to 120 centimetres. Anything narrower than 60 and you'll be stepping over furniture rather than walking around it.
Chairs Don't Sit Tucked In
Product photos are a lie of omission. Every chair is pushed neatly under the table, every lounger aligned like a showroom. Real life involves people getting up, scraping back, standing about with a glass in hand and then sitting down again.
Allow roughly 75 centimetres behind a dining chair for a basic pull-out, and closer to 90 for a comfortable one where you can stand, push the chair back and step away without clipping the fence. That measurement runs from the table edge to the nearest fixed object — wall, planter, step, barbecue. If you can't find 90, consider a bench on the tight side instead of chairs; it saves 20 to 25 centimetres and forces a bit of companionable shuffling.
Loungers need similar treatment at the foot end: around 45 to 50 centimetres so you can swing your legs down and stand up without performing a commando roll onto the lawn.
Tape It Out Before You Tap 'Buy'
This is the part people skip, and it's the part that saves money. Grab masking tape, string, canes, or a few old cardboard boxes and mark the furniture's footprint on the paving. Then mark the walkways you intend to keep clear. Leave it in place for a full day.
Now use the space as you normally would. Carry a tray of mugs along the route. Wheel the bin past. Do it again after dark, because a gap that feels generous in daylight feels like a trap when you're navigating by kitchen light and a phone torch.
While you're at it, chalk the swing of every door that opens onto the patio — French doors, bi-folds, the shed, the side gate. A door that opens outwards claims a surprising amount of floor, and it claims it precisely where you were planning to put the head of the table.
The Routes You Forgot You Needed
The bin store. The hose reel. The log basket. The shed. The washing line. The route a wheelbarrow takes in October. These are the journeys that decide whether a patio works, and they're rarely on the buying checklist.
Walk the garden and trace each one with your feet, then check the taped layout still allows it. If a design forces you to move a chair every time you want to reach the compost bin, it will be quietly resented by about week three.
Storage Has a Footprint Too
A 150-centimetre cushion box occupies 150 centimetres of patio all year round, not just on the day you buy it. Treat storage as furniture and give it a proper home: under a window, along a boundary where it doubles as a windbreak, or at the end of a run of seating where it can act as a side table.
Check the lid clearance as well. A box you can only open by dragging it into the middle of the patio is a box you'll stop using.
Choose Proportions, Not Just Seat Counts
A four-seat round table often works better on a compact patio than a four-seat rectangular one, because there are no corners to walk into and the shape suits a square of paving. Oval tables thread through narrow spaces more gracefully than rectangles. Drop-leaf and extending designs give you the option of a smaller everyday footprint — but only if you've allowed room for the extension when it's out.
Look at the depth of the set as closely as the length. Losing 20 centimetres of depth across a whole run of furniture is often what turns a cramped patio into a workable one.
A Five-Minute Check Before You Commit
- Measure the patio's clear width and depth.
- Subtract the furniture footprint, plus any storage.
- Confirm at least 90 centimetres on the main route and 60 centimetres on secondary ones.
- Allow 75 to 90 centimetres behind pulled-out chairs.
- Chalk the swing of every outward-opening door.
- Trace the bin, hose and washing-line routes on foot.
- Tape the layout out and live with it for a day.
The Payoff
The best-furnished small patio isn't the one with the most seating. It's the one you can still cross with a cup of tea in one hand and a biscuit in the other. Get the gaps right first, and the furniture — whatever you eventually choose — will have somewhere to belong.